In the Resco mobile application, most of the images used are part of the default mobile project and can be found in the Woodford > Project > Images directory.
We have organized these images into folders based on their specific purpose within the application. For instance, if you are looking for icons used on the home screen (menu), you can find them in the Home folder.
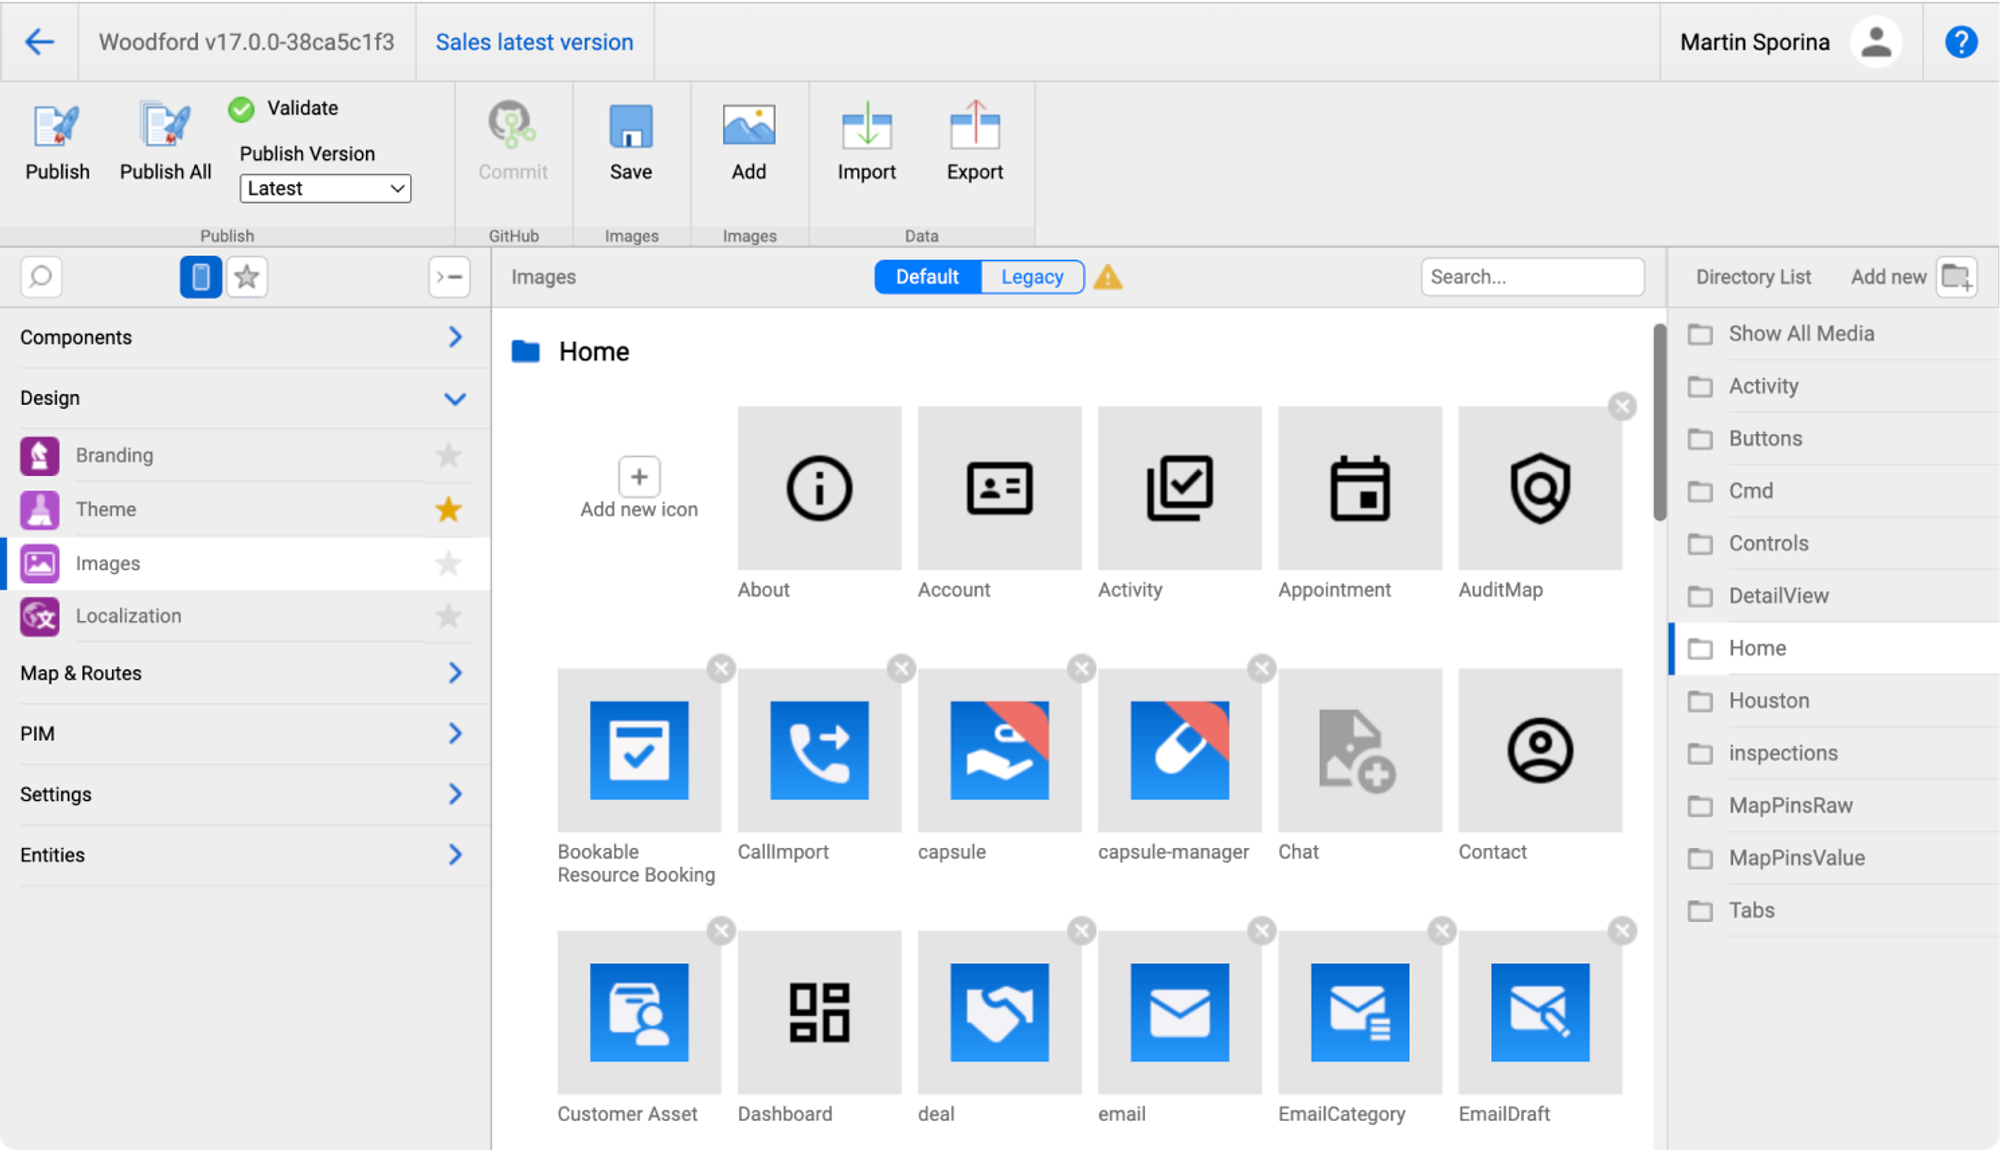
It is important to note that all icons should be in PNG format, and a size of 24x24dp. Also, if you want to recolor the icons in the Theme editor, keep all icons monochrome and transparent.
When adding images to the project, it is crucial to keep in mind that all files are synchronized on the device, even if they are not actively used. Therefore, we highly recommend maintaining content without any redundant images.
In default mobile projects, we use a combination of Resco’s default icons, which we have developed internally, and icons from the Material Design library, which is an open-source project. If you need an icon, we strongly recommend selecting one from this extensive database.
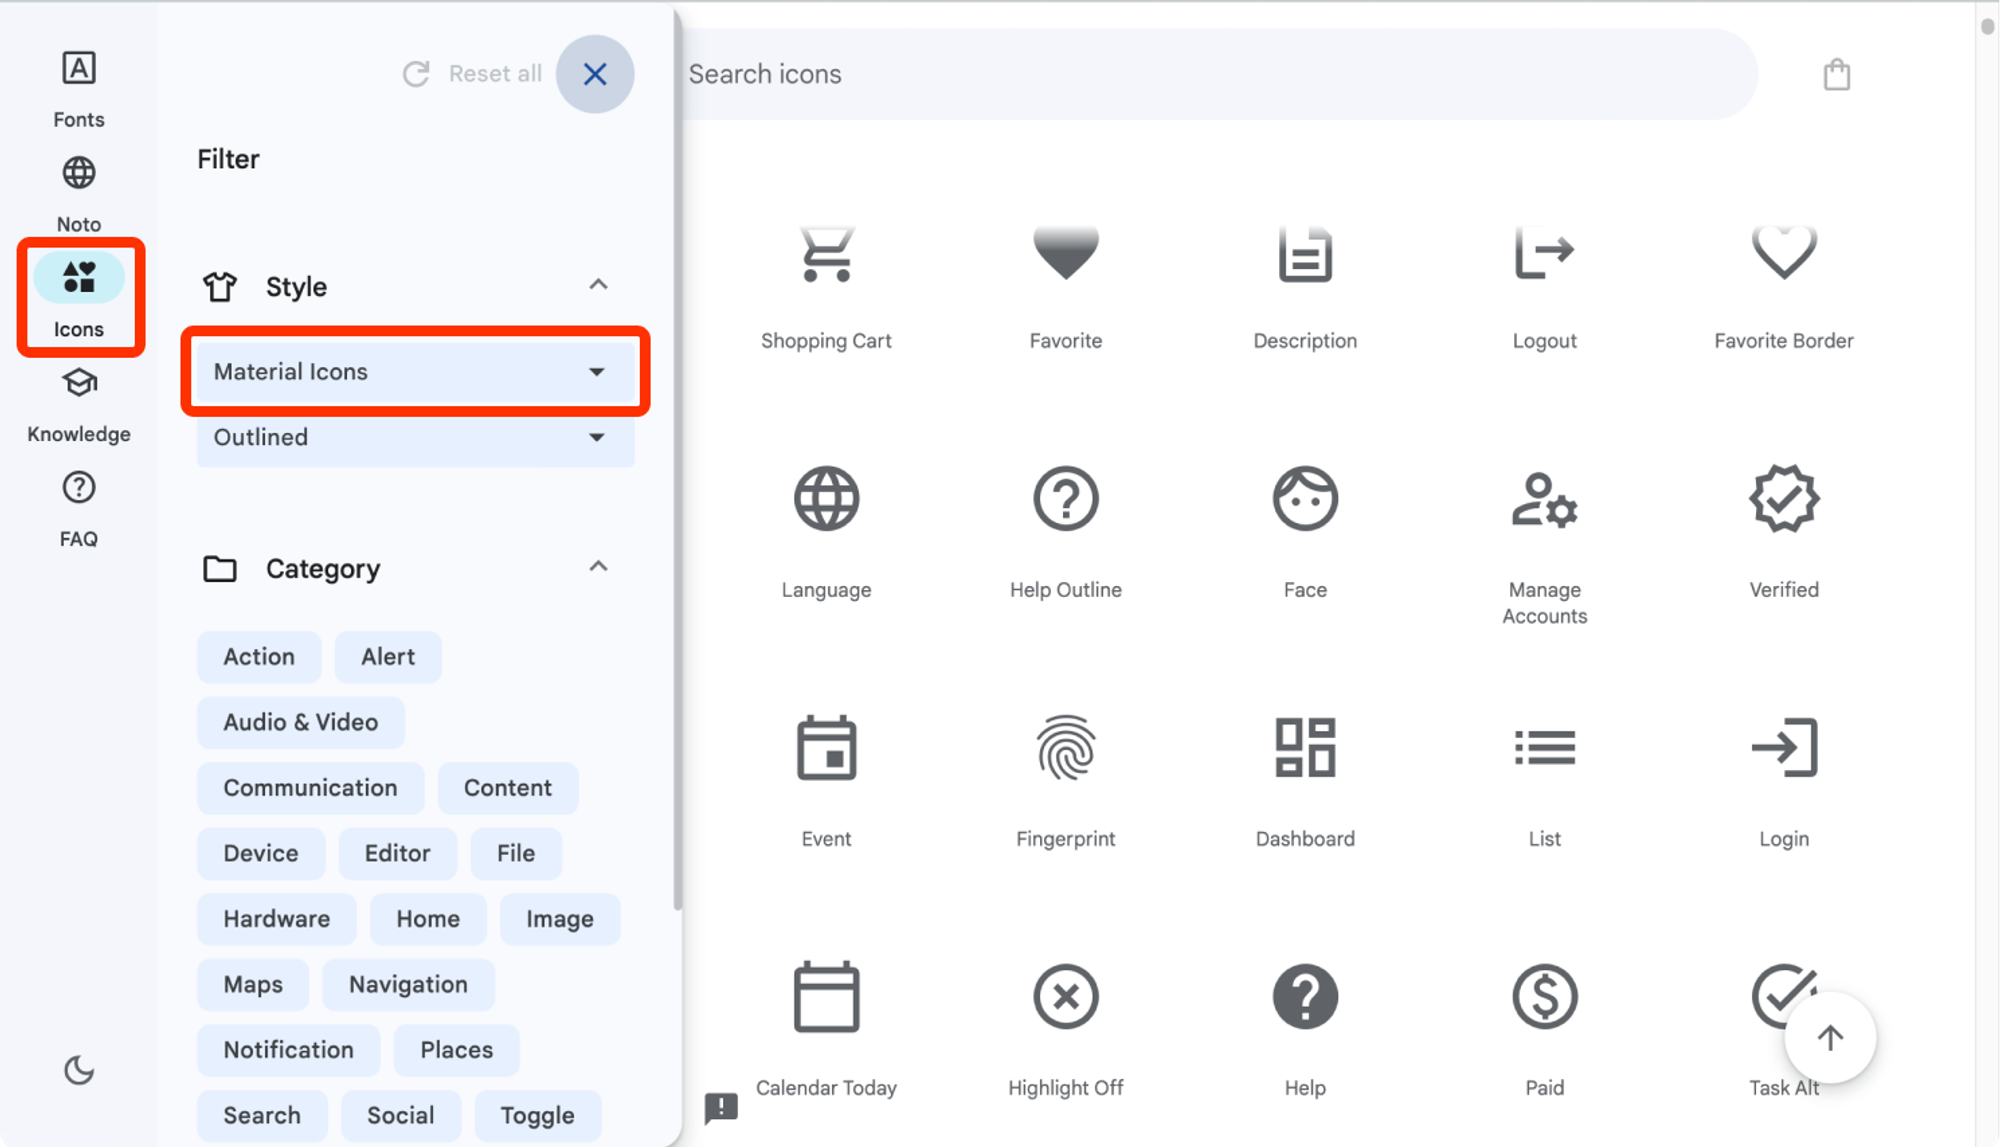
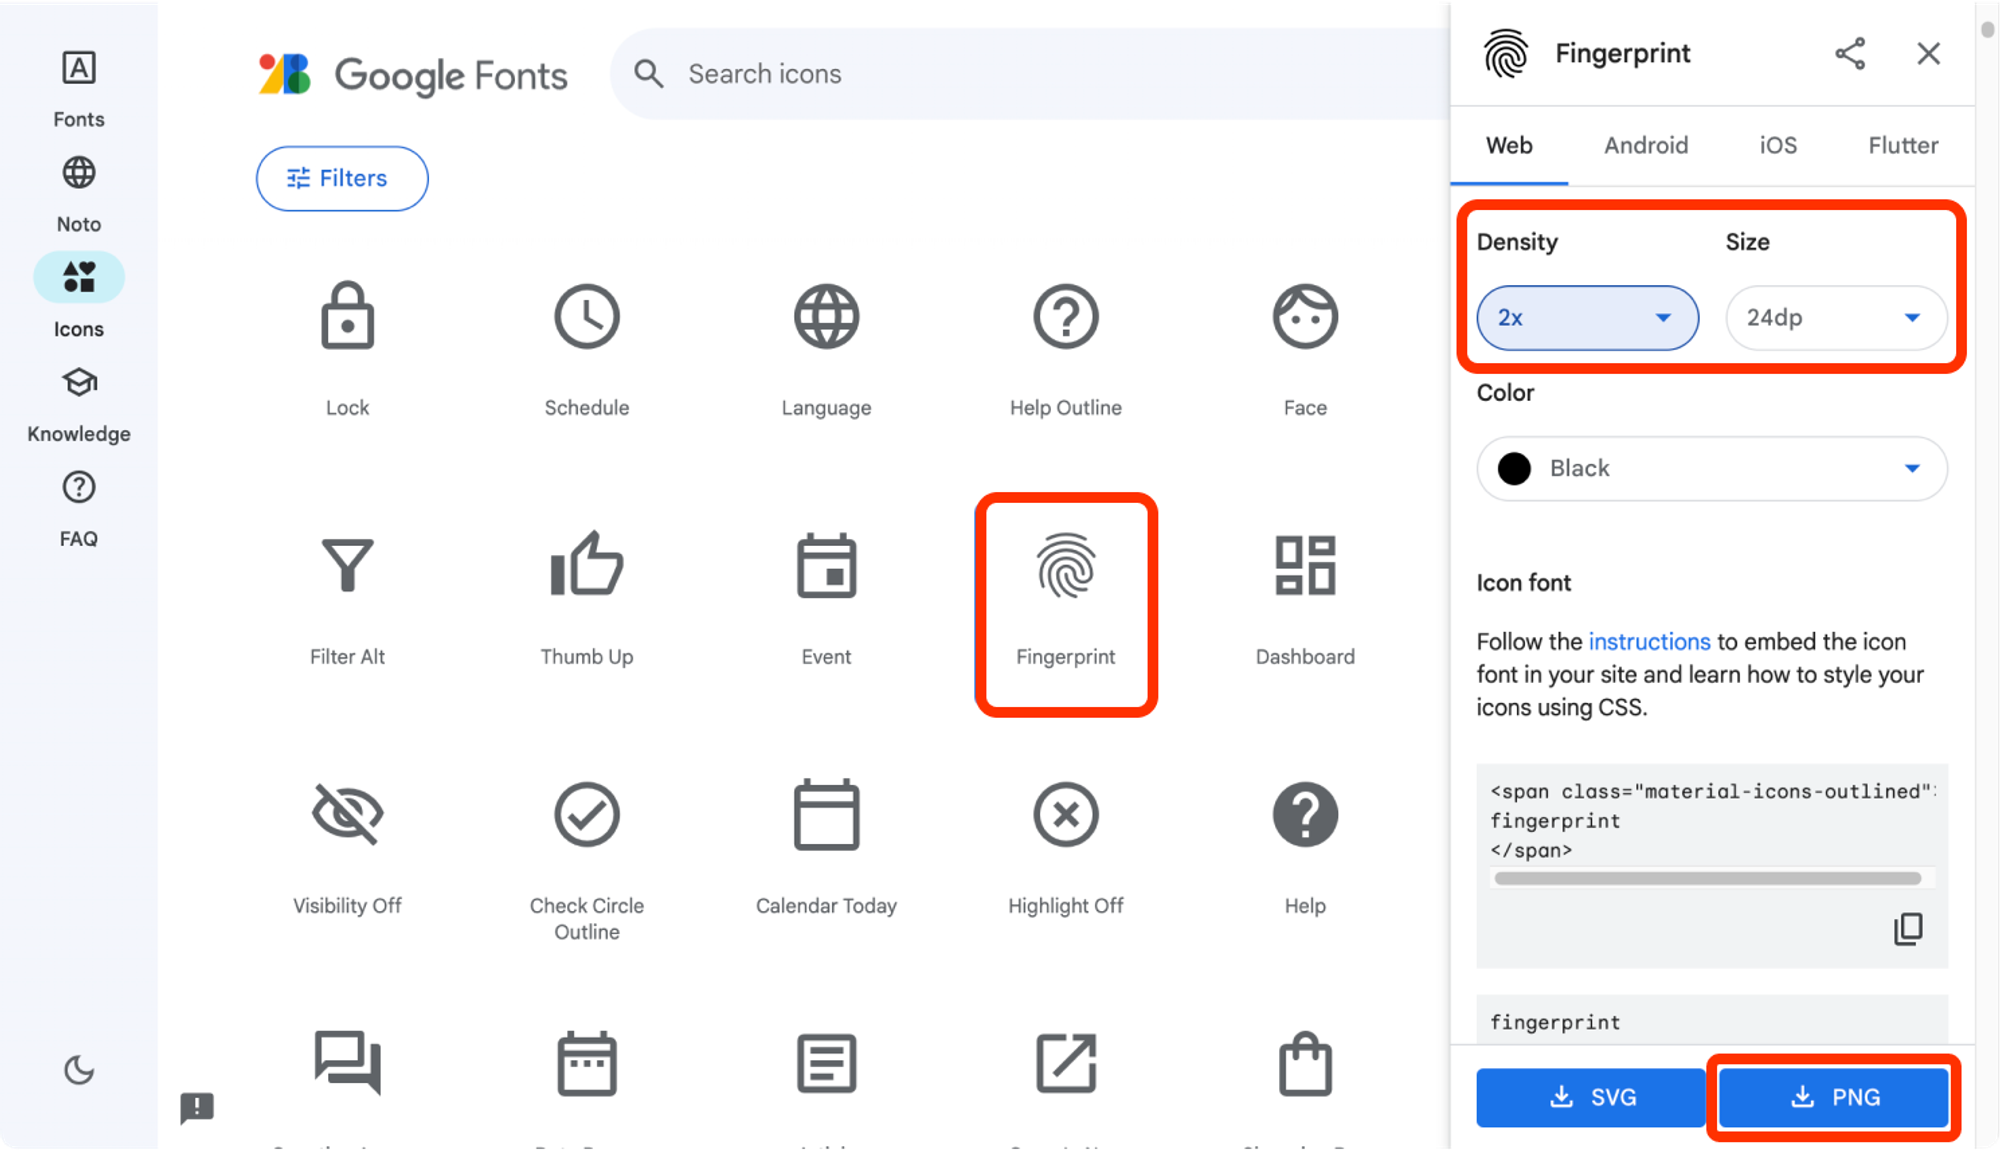
To export Material icons, you will need to set the density to 2x and the size to 24dp in the properties panel. These icons can then be downloaded in PNG format.
Once downloaded, the file will be in a zip format and will need to be extracted. Inside the extracted folder, you will find two versions of each icon: 1x and 2x. For our project, we utilize double-sized icons (2x).
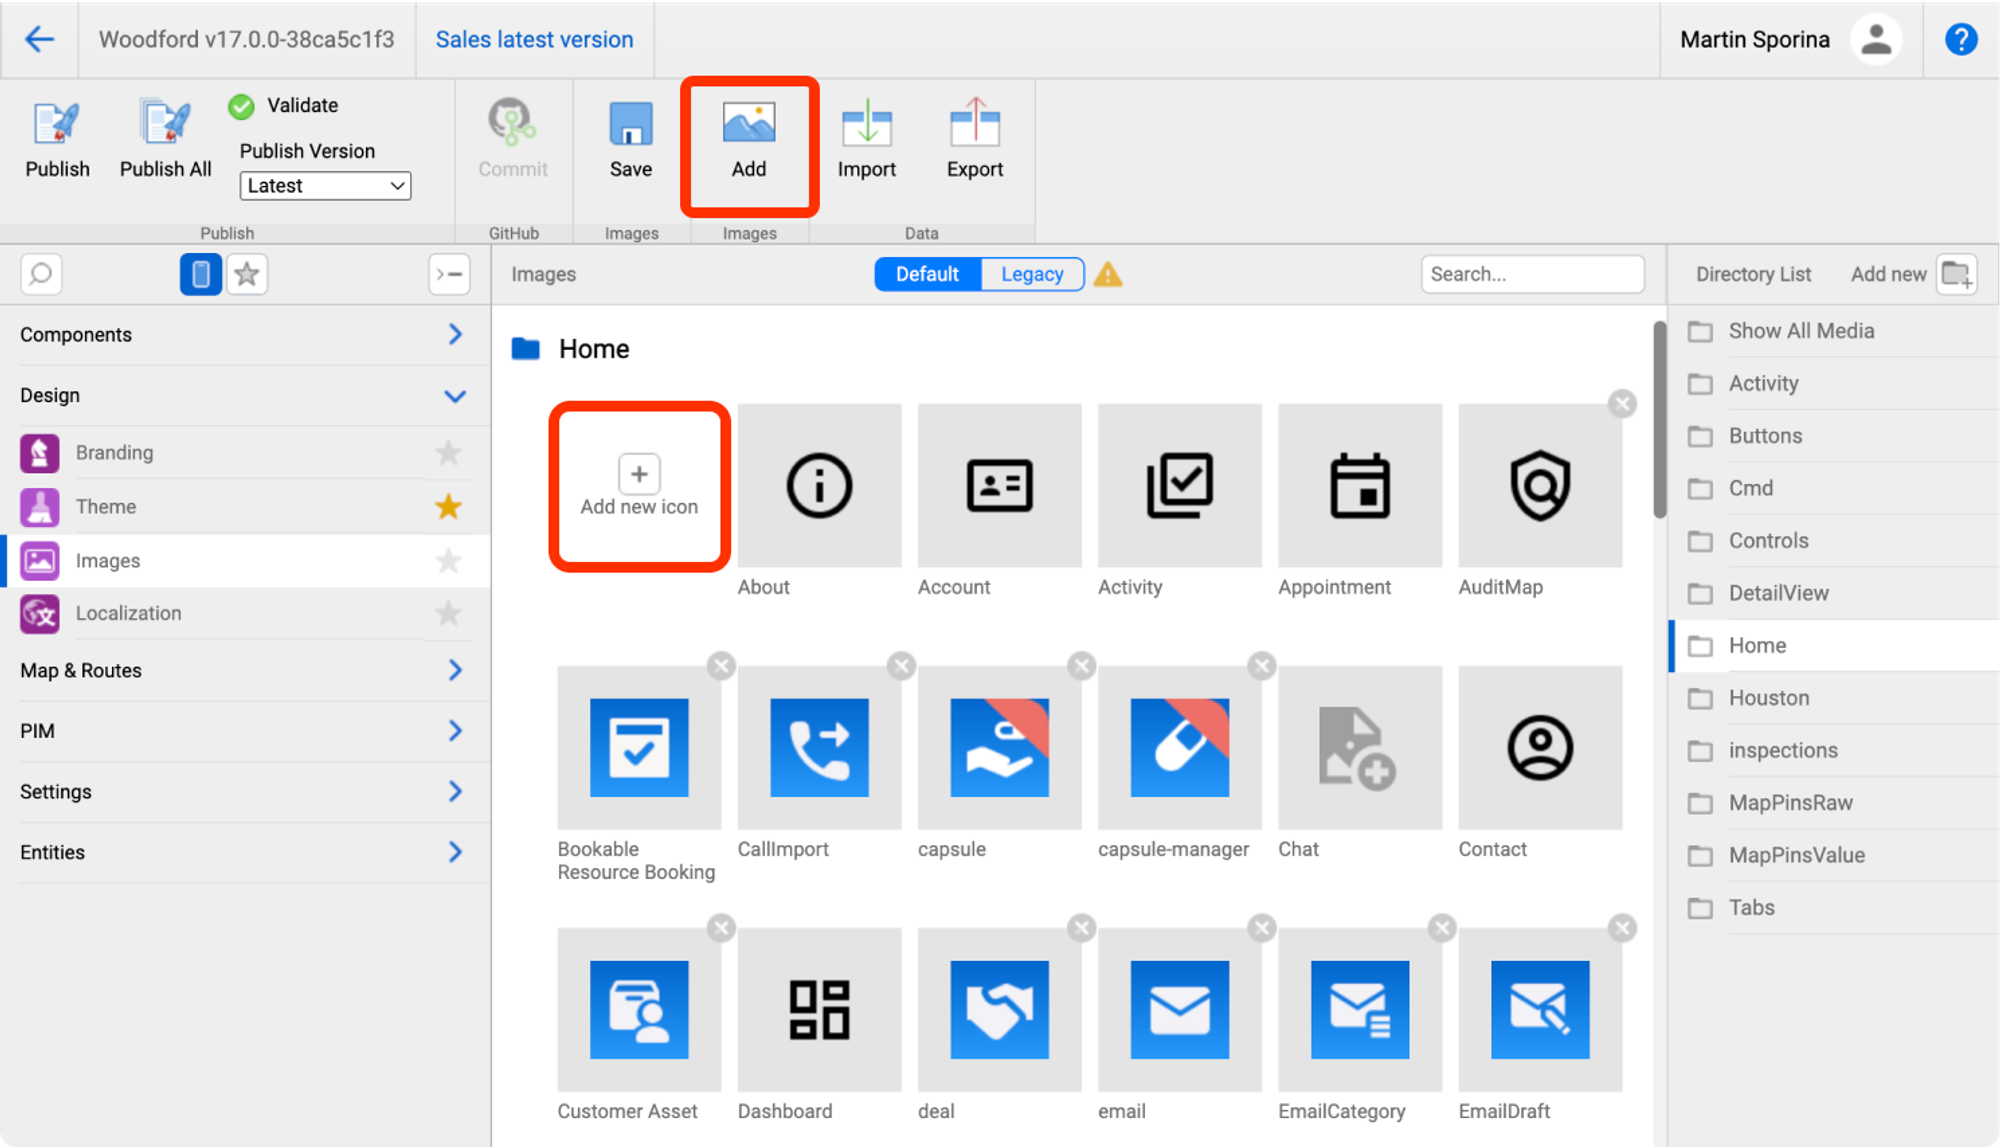
Importing these icons into Woodford can be accomplished by either using the “Add new icon” button or the icon located in the main toolbar “Add”.
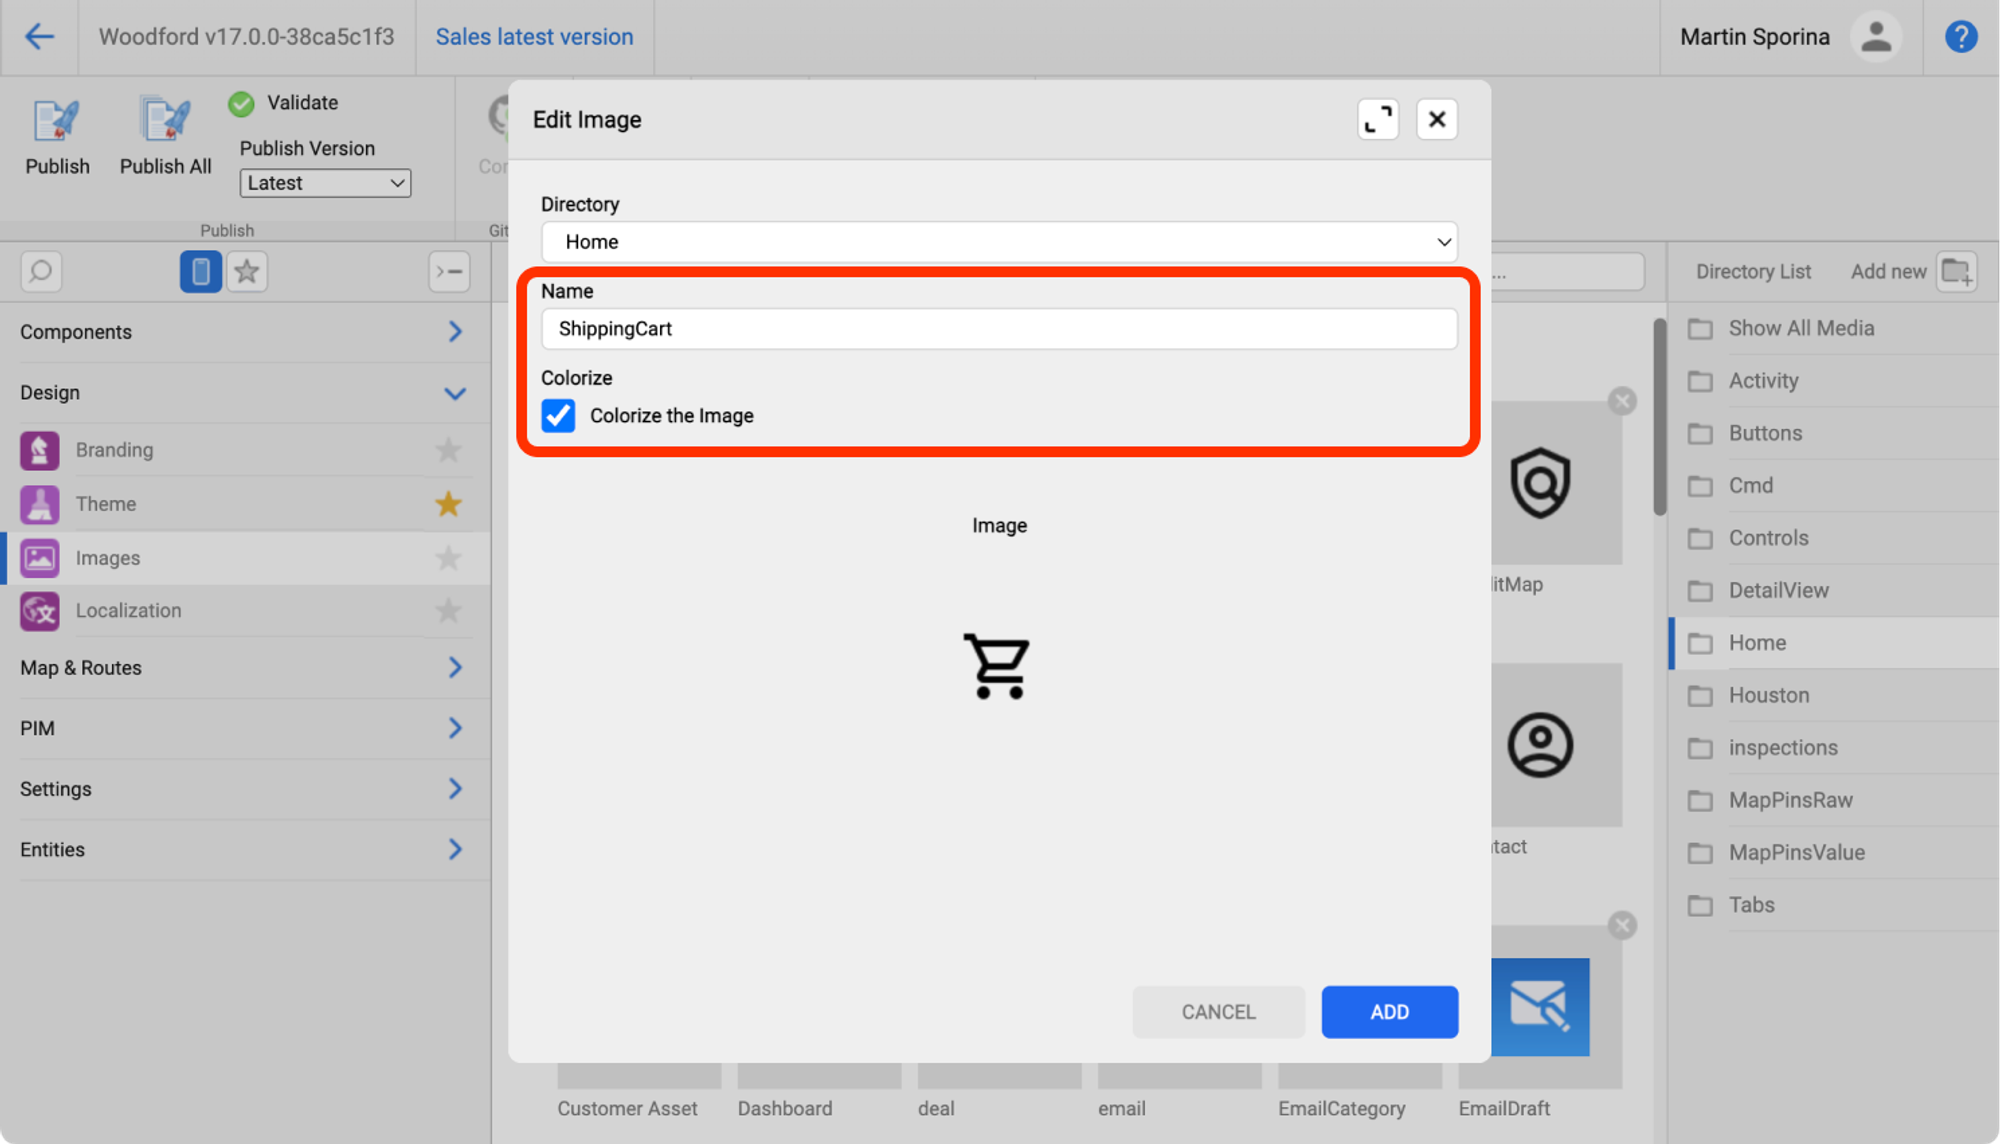
Once the dialog window appears, clicking on the placeholder will provide you with the option to select an icon. Simply choose the desired icon from your computer and insert it into your project.
Additionally, remember to include the icon’s name and ensure its colorization. Complete the process by pressing the “Add” button. After uploading the images, it is important to save your progress.
Now you can freely utilize the newly added images within your project. For example, if you have added an icon to the Home folder, it will now be available as an additional option in the “Images” panel.
To get started, you can download a zip file with default icons set. You can directly import this zip file into your project.